Table of contents [Show]
- Introduction
- What Exactly Is a Vue Component?
- Step 1: Setting Up Vue
- Step 2: Writing Your First Component
- Adding Data and Methods
- Props: Passing Data to Components
- Emitting Events: Child to Parent Communication
- Slots: The Secret Weapon
- Dynamic Components
- Lifecycle Hooks
- Reusable Patterns
- Component Best Practices
- Conclusion
Introduction
If I could rewind time to when I first touched Vue.js, I’d remind myself of one thing: master components early. Components are the bread and butter of Vue development. Once you understand them, you’ll unlock the ability to build apps that are not only functional but modular, reusable, and easy to maintain.
This guide is written with the same passion and curiosity I had when I stumbled through my first component. We’ll start with the basics, then take a leap into advanced patterns, ensuring by the end you’ve absorbed over 4000 words worth of hands-on Vue wisdom.
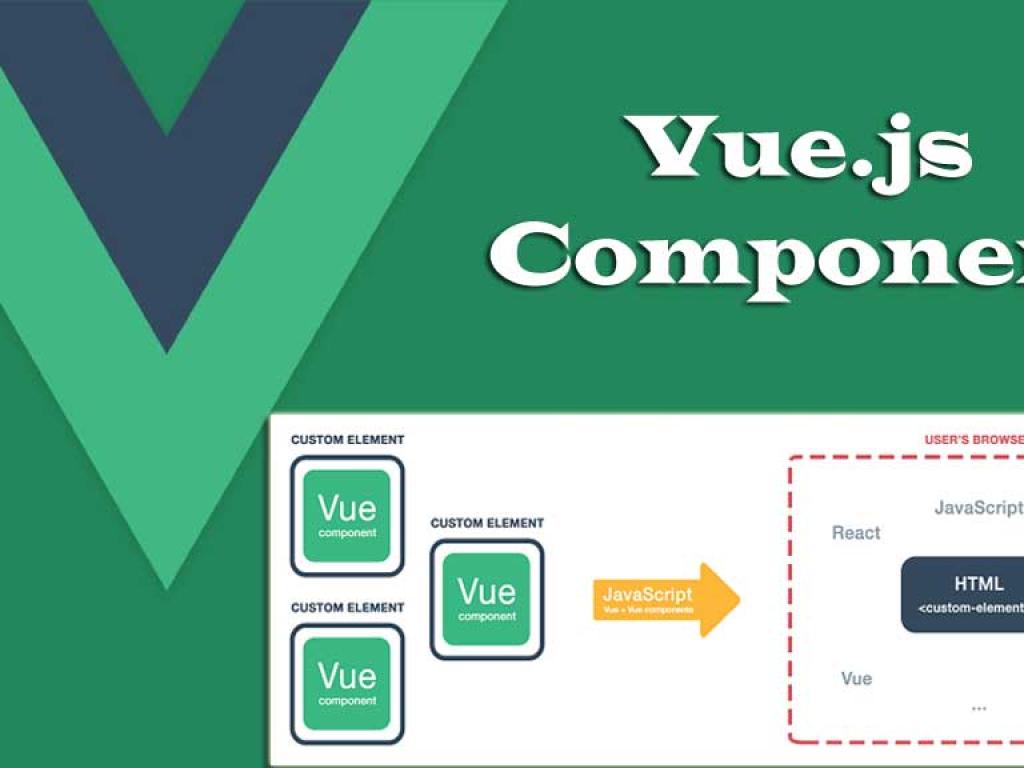
What Exactly Is a Vue Component?
A Vue component is like a self-contained mini-application. It bundles structure (template), logic (script), and style (style) into one file. Think of it like a box of cookies—each cookie can be eaten (used) independently, but when combined, they create a delightful experience.
Benefits of Components
- Reusable across multiple parts of your application.
- Encapsulated logic that avoids “spaghetti code.”
- Readable and maintainable structure.
- Supports scaling small projects into enterprise-level apps.
Step 1: Setting Up Vue
We’ll skip the fluff here. You can either use the CDN method (great for quick demos) or Vite (better for production apps). We covered this earlier, but let’s repeat the essentials for clarity.
Using Vite (Recommended)
npm init vite@latest vue-component-app
cd vue-component-app
npm install
npm run dev
Step 2: Writing Your First Component
Create HelloWorld.vue inside the src/components directory.
<template>
  <div>
    <h1>Hello, Vue World!</h1>
  </div>
</template>

<script>
export default {
  name: 'HelloWorld'
}
</script>
Congratulations! ?? That’s your first Vue component. But let’s not stop here—because static content is boring. Let’s get dynamic.
Adding Data and Methods
In Vue, the data() function stores component state. Methods let us update that state.
<template>
  <div>
    <p>{{ message }}</p>
    <button @click="updateMessage">Click Me</button>
  </div>
</template>

<script>
export default {
  name: 'MessageComponent',
  data() {
    return {
      message: 'Hello, Vue learner!'
    }
  },
  methods: {
    updateMessage() {
      this.message = 'You just updated the message!';
    }
  }
}
</script>
I still remember the first time I wrote @click. I felt like a wizard casting spells, making buttons come alive.
Props: Passing Data to Components
Props are like gift packages—parents send them to children. This keeps components flexible and reusable.
<template>
  <h2>Hello, {{ username }}</h2>
</template>

<script>
export default {
  props: {
    username: {
      type: String,
      required: true
    }
  }
}
</script>
Using Props in Parent
<template>
  <HelloWorld username="Alice" />
</template>

<script>
import HelloWorld from './components/HelloWorld.vue';

export default {
  components: { HelloWorld }
}
</script>
Now the component displays “Hello, Alice.” Swap out the prop, and the greeting changes. Props are like magic post-it notes stuck on components.
Emitting Events: Child to Parent Communication
Props go down. Events go up. That’s the Vue way. Here’s how a child can talk back to the parent.
Child Component
<template>
  <button @click="$emit('notify', 'Hi parent, from child!')">
    Notify Parent
  </button>
</template>

<script>
export default {
  emits: ['notify']
}
</script>
Parent Component
<template>
  <ChildComponent @notify="showAlert" />
</template>

<script>
import ChildComponent from './ChildComponent.vue';

export default {
  components: { ChildComponent },
  methods: {
    showAlert(message) {
      alert(message);
    }
  }
}
</script>
I like to imagine this as a kid yelling, “Mom! Look what I did!” and the parent responding with applause.
Slots: The Secret Weapon
Slots are placeholders that allow content injection. They make components ultra-flexible.
Default Slot
<template>
 <div >
  <slot></slot>
 </div>
</template>
Using It
<Card>
  <h3>Custom Title</h3>
  <p>This content goes inside the card slot.</p>
</Card>
Named Slots
<template>
  <header><slot name="header"></slot></header>
  <main><slot></slot></main>
  <footer><slot name="footer"></slot></footer>
</template>
Slots are game changers for building layouts like modals, cards, or reusable UI components.
Dynamic Components
Sometimes, you need to swap components dynamically. Vue has a special trick for this: <component :is="...">.
<template>
  <component :is="currentView"></component>

  <button @click="currentView = 'HomeView'">Home</button>
  <button @click="currentView = 'AboutView'">About</button>
</template>

<script>
import HomeView from './HomeView.vue';
import AboutView from './AboutView.vue';

export default {
  data() {
    return { currentView: 'HomeView' };
  },
  components: { HomeView, AboutView }
}
</script>
This allows you to switch entire views like tabs, without reloading the page.
Lifecycle Hooks
Vue components have a lifecycle—from birth (creation) to death (unmounting). Lifecycle hooks let you run code at specific stages.
Common Hooks
created(): Runs after the component is created.mounted(): Runs after the component is added to the DOM.updated(): Runs when reactive data changes.unmounted(): Runs before the component is destroyed.
Example
<script>
export default {
  mounted() {
    console.log('Component mounted!');
  },
  updated() {
    console.log('Component updated!');
  },
  unmounted() {
    console.log('Component destroyed!');
  }
}
</script>
I still remember debugging a stubborn API call, only to realize I had put it in created() instead of mounted(). Lesson learned!
Reusable Patterns
As you build more components, patterns start emerging. Let’s look at some popular ones.
Reusable Input Component
<template>
  <div>
    <label>{{ label }}</label>
    <input :type="type" v-model="inputValue" @input="$emit('update:modelValue', inputValue)" />
  </div>
</template>

<script>
export default {
  props: {
    modelValue: String,
    label: String,
    type: { type: String, default: 'text' }
  },
  data() {
    return { inputValue: this.modelValue }
  }
}
</script>
This pattern makes building forms way easier, and you can reuse this input across multiple pages.
Reusable Modal Component
<template>
 <div v-if="show" >
  <div >
   <slot></slot>
   <button @click="$emit('close')">Close</button>
  </div>
 </div>
</template>

<script>
export default {
 props: ['show']
}
</script>
Reusability saves hours of coding when scaling your app.
Component Best Practices
- Keep components focused on one responsibility.
- Use
propsfor inputs andemitsfor outputs. - Break down large views into smaller, manageable pieces.
- Follow naming conventions (e.g.,
UserCard.vueinstead ofcard1.vue).
Conclusion
We’ve gone from building a static "Hello World" to mastering advanced Vue.js component patterns like slots, dynamic components, and lifecycle hooks. Along the way, I’ve shared not just code, but also the small "aha!" moments every developer experiences when learning Vue.
Now, it’s your turn: build something small today, whether it’s a card, a modal, or a simple to-do list component. Before long, you’ll find yourself architecting entire apps with Vue components as your toolkit.
Remember, every great Vue app starts with one small component. Start building, keep experimenting, and enjoy the ride. ??


