Understanding Logical Functions in Excel
Logical functions test whether a statement is TRUE or FALSE. Think of them as Excel’s built-in “decision-makers.” You ask a question, Excel evaluates it, and returns either TRUE or FALSE. Simple, right?
Let’s imagine this scenario: you’re checking student marks to decide who passes or fails. Logical functions will help you test conditions like — “Did the student score more than 50?” or “Did they attend enough classes?”
1. The AND Function
What It Does
The AND function checks whether multiple conditions are all TRUE. It returns TRUE only if every condition you specify is true — otherwise, it gives FALSE.
Syntax
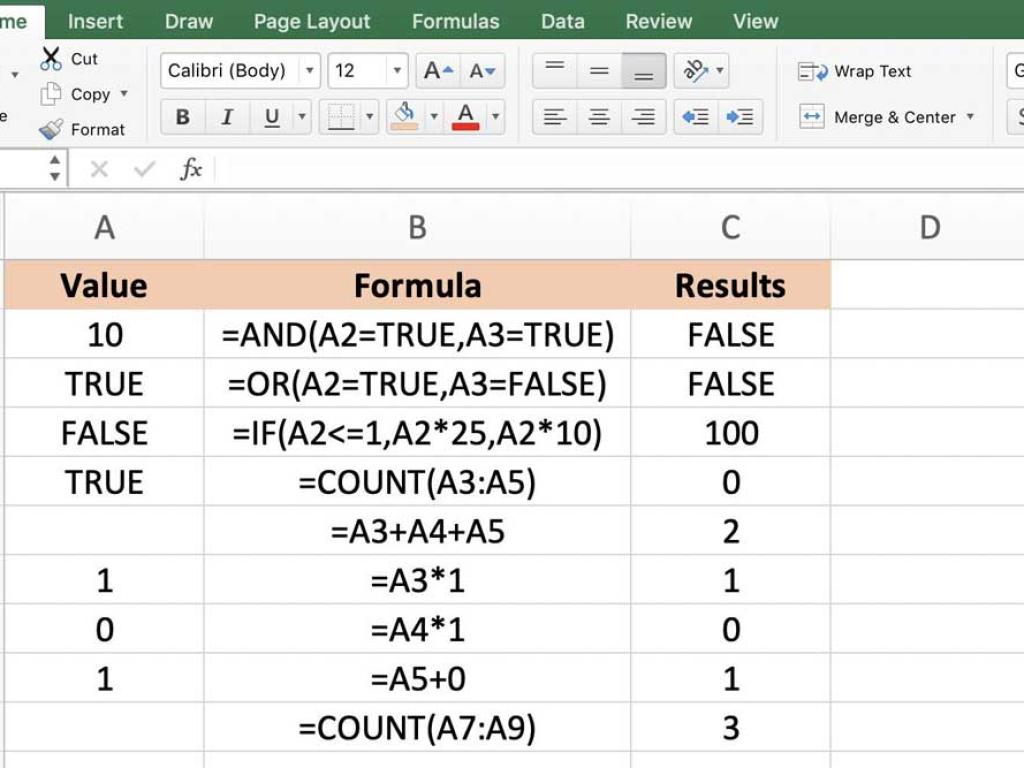
=AND(logical1, [logical2], ...)
logical1, logical2, ... are the conditions you want to test.
Example 1: Checking Multiple Conditions
Suppose a student must score above 50 in Math (cell B2) and above 50 in English (cell C2) to pass both subjects.
=AND(B2>50, C2>50)
This will return TRUE if both conditions are met, otherwise FALSE.
Example 2: Combining with IF Function
Use it with IF to create a logical decision:
=IF(AND(B2>50, C2>50),"Pass","Fail")
Now Excel not only checks logic but also communicates the result in words. Neat, right?
2. The OR Function
What It Does
The OR function returns TRUE if any one of the conditions is true. It’s useful when you have multiple acceptable outcomes.
Syntax
=OR(logical1, [logical2], ...)
Example 1: Passing if Any Subject is Above 50
Let’s say you want to mark a student as “Pass” if they score above 50 in either Math or English:
=OR(B2>50, C2>50)
If either condition is true, Excel returns TRUE.
Example 2: Using OR with IF
Let’s make it more readable for real-life use:
=IF(OR(B2>50, C2>50),"Pass","Fail")
This means if a student passes in at least one subject, Excel displays “Pass.”
Pro Tip:
Think of AND as “everything must be true” and OR as “at least one must be true.” It’s like comparing your coffee orders — AND means “hot AND sugar-free,” OR means “hot OR iced” (either is fine 😉).
3. The NOT Function
What It Does
The NOT function reverses the result of a logical test. If the statement is TRUE, it makes it FALSE — and vice versa.
Syntax
=NOT(logical)
Example 1: Negating a Condition
Let’s say you want to check if a student did not pass:
=NOT(B2>50)
If B2 is greater than 50, Excel returns FALSE (because the student passed). If it’s less than or equal to 50, it returns TRUE.
Example 2: Combining with IF
=IF(NOT(B2>50),"Fail","Pass")
This flips the logic and returns “Fail” when the condition isn’t met.
Pro Tip:
NOT is a great function to clean up your formulas — especially when you want to say “everything except…” or “if this is not true.”
4. Combining Logical Functions Together
Here’s where the magic happens — you can combine AND, OR, and NOT for more powerful decisions.
Example: Complex Logical Formula
Imagine this: A student passes if they scored above 50 in both subjects OR attended more than 75% of classes.
=IF(OR(AND(B2>50, C2>50), D2>75),"Pass","Fail")
Excel first checks the AND condition (both marks > 50). If that’s false, it checks the OR condition (attendance > 75). Only if both are false will it display “Fail.”
That’s the kind of Excel logic that makes you look like a data wizard in meetings! 🧙♂️
Common Mistakes to Avoid
- ❌ Forgetting to use parentheses properly — they define the logic order.
- ❌ Mixing up AND and OR conditions (they do very different things!).
- ✅ Always test your formula with both TRUE and FALSE cases before finalizing.
- ✅ Use color coding or notes in Excel to track what each condition checks.
Why Logical Functions Matter
Once you master logical functions, you’ll unlock Excel’s true power — automation. You’ll build formulas that make decisions, flag data errors, and even grade students automatically.
I remember when I first discovered =IF(AND(...)) — it felt like Excel suddenly became intelligent. No more manual checking or guesswork. Just logic that worked every time!
Conclusion
Logical functions — AND, OR, and NOT — are small but mighty tools. Once you get comfortable with them, you’ll build smarter, cleaner, and faster formulas. They’re the backbone of automation and data-driven decisions in Excel.
Your task: Open an Excel file and test each function on your own data. Try mixing them together and see how Excel responds — logic is best learned by doing!
Next up in our Excel Web Series: we’ll dive into Nested IF Statements and how to combine logic with calculations for advanced reporting. Stay tuned!