Table of contents [Show]
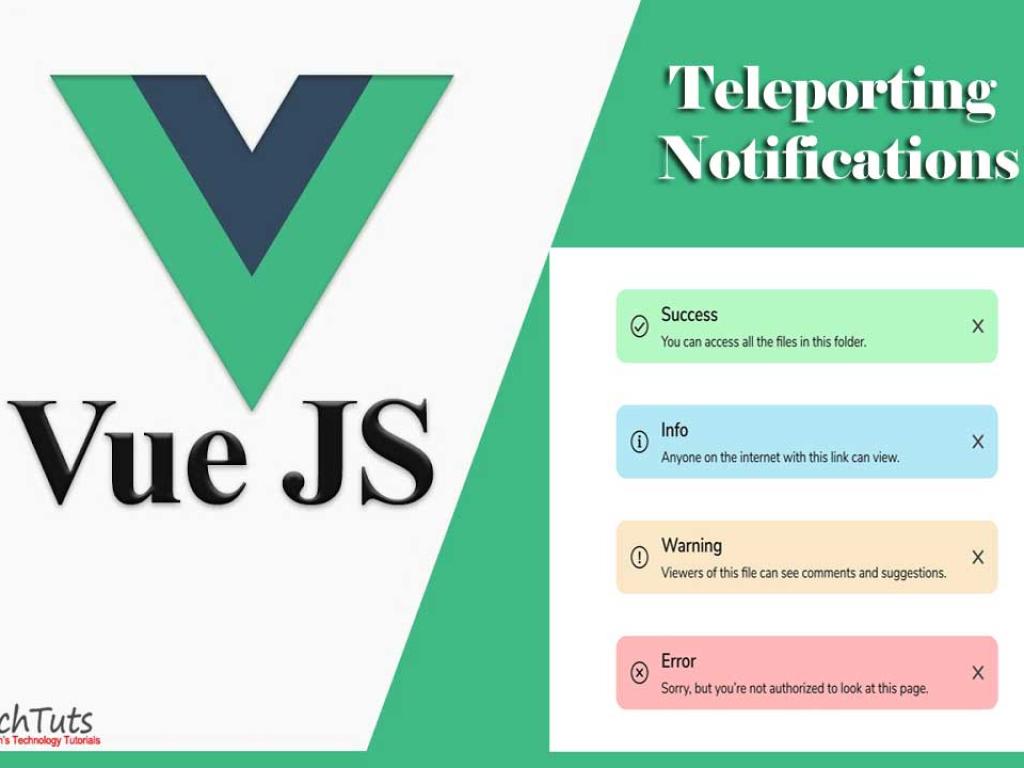
Real-World Example: Teleporting Notifications
Imagine we want to build a reusable notification system where components from anywhere in the app can trigger a global toast. Instead of deeply nesting this in the DOM, we’ll teleport it to a dedicated #notifications container.
Step 1: Add a Notification Target in index.html
<body>
  <div id="app"></div>
  <div id="modals"></div>
  <div id="notifications"></div>
</body>
Step 2: Create Notification Component
This component will display a list of notifications. It will be teleported into #notifications.
<template>
  <teleport to="#notifications">
    <div class1="notification-wrapper">
      <div
        v-for="note in notifications"
        :key="note.id"
        class1="notification">
        {{ note.message }}
      </div>
    </div>
  </teleport>
</template>

<script setup>
import { inject } from 'vue'

const notifications = inject('notifications')
</script>
Step 3: Provide Notifications State
We’ll use Vue’s provide/inject to share a global notification state.
<template>
  <div>
    <h1>Vue 3 Teleport Notifications Example</h1>
    <button @click="addNotification">Show Notification</button>

    <NotificationList />
  </div>
</template>

<script setup>
import { ref, provide } from 'vue'
import NotificationList from './NotificationList.vue'

const notifications = ref([])
provide('notifications', notifications)

let counter = 0
function addNotification() {
  counter++
  notifications.value.push({
    id: counter,
    message: `Notification #${counter}`
  })
  // Auto-remove after 3 seconds
  setTimeout(() => {
    notifications.value = notifications.value.filter(n => n.id !== counter)
  }, 3000)
}
</script>
Here, the NotificationList component is teleported into the global #notifications div, but it still reacts to the state provided in App.vue. When you click “Show Notification,” a new toast appears in the global container and disappears after 3 seconds.
Step 4: Adding Multiple Notifications
Because we’re using an array of notifications, the system already supports multiple toasts. Each one is displayed independently and auto-dismisses after a timeout.
Benefits of Teleport for Notifications
- No CSS conflicts: Notifications appear above all app content without worrying about container styles.
- Reusable: You can drop
<NotificationList>into any app, and it will render correctly. - Reactive: Notifications update dynamically because they’re tied to reactive state.
Full Example: Modal + Notifications Together
Let’s combine what we’ve learned by building an app with both a modal system and a notification system, both powered by Teleport.
<template>
  <div>
    <h1>Vue 3 Teleport: Modal + Notifications</h1>
    <button @click="showModal = true">Open Modal</button>
    <button @click="addNotification">Show Notification</button>

    <Modal :visible="showModal" @close="showModal = false">
      <h2>This is a Modal</h2>
      <p>It uses Teleport to render outside the DOM hierarchy.</p>
    </Modal>

    <NotificationList />
  </div>
</template>

<script setup>
import { ref, provide } from 'vue'
import Modal from './Modal.vue'
import NotificationList from './NotificationList.vue'

const showModal = ref(false)
const notifications = ref([])
provide('notifications', notifications)

let counter = 0
function addNotification() {
  counter++
  notifications.value.push({
    id: counter,
    message: `Notification #${counter}`
  })
  setTimeout(() => {
    notifications.value = notifications.value.filter(n => n.id !== counter)
  }, 3000)
}
</script>
Now you’ve got a polished UI system where modals and notifications both teleport to their respective global containers, solving layout headaches while keeping your code clean.
Final Thoughts
With Vue 3 Teleport, building advanced UI patterns like modals and notifications becomes a breeze. Instead of fighting with DOM hierarchies and CSS quirks, you focus on reactivity and UX. By combining Teleport with provide/inject, you can manage global state elegantly and render UI elements exactly where they belong in the DOM. This is Vue’s philosophy at its best: simplicity, reactivity, and flexibility.


