Table of contents [Show]
- Introduction: Why State Management Matters
- Step 1: Setting Up Vuex
- Step 2: Understanding State
- Step 3: Mutations – Changing the State
- Step 4: Actions – Handling Asynchronous Tasks
- Step 5: Getters – Derived State
- Step 6: Modules – Organizing Large Stores
- Step 7: Real-World Example – Todo App with Vuex
- Step 8: Best Practices for Vuex
- Conclusion: From Beginner to Pro with Vuex
Introduction: Why State Management Matters
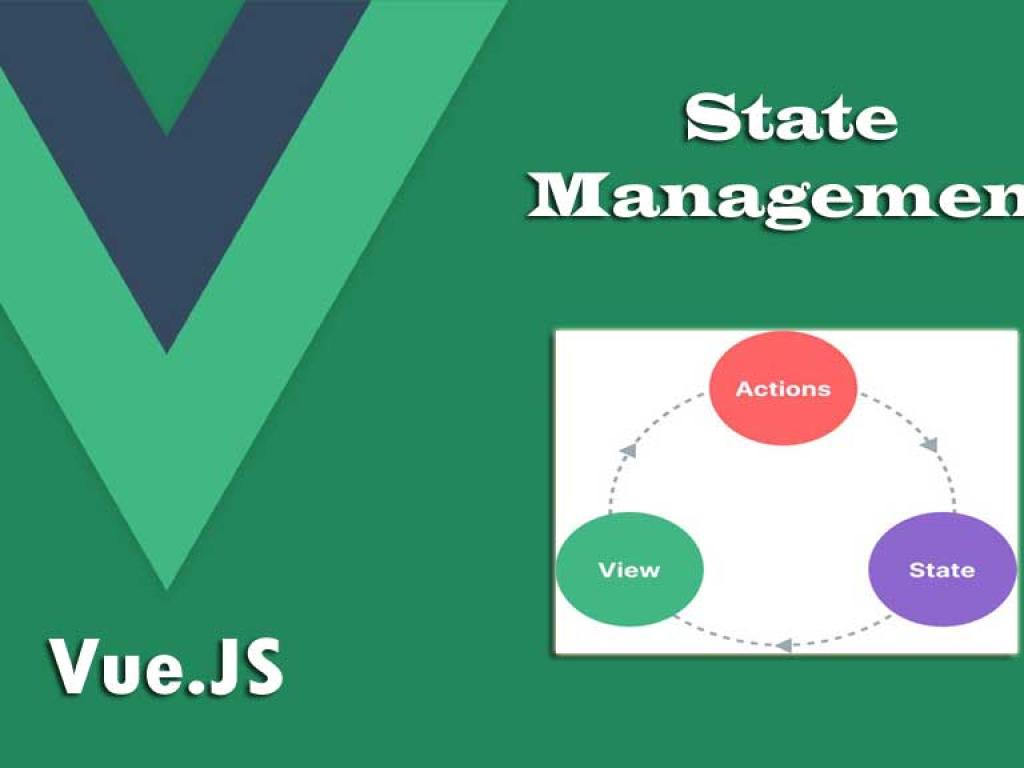
Have you ever built a Vue app that started simple but quickly became a mess as components started sharing state? I’ve been there—props drilling everywhere, events firing like confetti, and components losing track of data. That’s exactly why Vuex exists. Vuex provides a centralized store that makes state predictable, maintainable, and reactive.
Think of Vuex as your app’s brain: it holds all the important data, coordinates communication between components, and ensures everyone is on the same page.
Step 1: Setting Up Vuex
First, let’s install Vuex in a Vue 3 project. If you don’t have a project yet, create one with Vite:
npm init vue@latest vuex-demo
cd vuex-demo
npm install
npm install vuex@next
npm run dev
Now, let’s create a store:
// store/index.js
import { createStore } from 'vuex';

export default createStore({
  state: {
    count: 0
  },
  mutations: {},
  actions: {},
  getters: {}
});
Register the store in main.js:
import { createApp } from 'vue';
import App from './App.vue';
import store from './store';

createApp(App).use(store).mount('#app');
Step 2: Understanding State
The state is where you store your data centrally. Let’s start by showing a counter:
// store/index.js
state: {
  count: 0
}
<template>
  <div>
    <p>Count: {{ count }}</p>
    <button @click="increment">Increment</button>
  </div>
</template>

<script setup>
import { computed } from 'vue';
import { useStore } from 'vuex';

const store = useStore();
const count = computed(() => store.state.count);
const increment = () => store.commit('increment');
</script>
Here, we accessed the state using store.state and displayed it in the UI. Vuex ensures reactivity automatically.
Step 3: Mutations – Changing the State
Mutations are the only way to change the state in Vuex. They are synchronous and predictable.
// store/index.js
mutations: {
  increment(state) {
    state.count++;
  },
  decrement(state) {
    state.count--;
  }
}
Call mutations in the component with store.commit('mutationName'). We already used increment above.
Step 4: Actions – Handling Asynchronous Tasks
Actions are used to handle async operations before committing mutations.
// store/index.js
actions: {
  asyncIncrement({ commit }) {
    setTimeout(() => {
      commit('increment');
    }, 1000);
  }
}
<button @click="asyncIncrement">Async Increment</button>

<script setup>
const asyncIncrement = () => store.dispatch('asyncIncrement');
</script>
Actions provide a clean way to handle API calls or delayed operations while keeping state mutations synchronous and predictable.
Step 5: Getters – Derived State
Getters allow you to compute derived state based on store data, similar to computed properties.
// store/index.js
getters: {
  doubleCount: (state) => state.count * 2
}
<p>Double Count: {{ doubleCount }}</p>

<script setup>
const doubleCount = computed(() => store.getters.doubleCount);
</script>
Getters can be very powerful for filtering, sorting, or calculating values from the state.
Step 6: Modules – Organizing Large Stores
As your application grows, you can split the store into modules, each with its own state, mutations, actions, and getters.
// store/modules/cart.js
export default {
  namespaced: true,
  state: () => ({
    items: []
  }),
  mutations: {
    addItem(state, item) {
      state.items.push(item);
    }
  },
  getters: {
    itemCount: (state) => state.items.length
  }
};
// store/index.js
import { createStore } from 'vuex';
import cart from './modules/cart';

export default createStore({
  modules: { cart }
});
Accessing module state:
<p>Cart Items: {{ cartItemCount }}</p>

<script setup>
const cartItemCount = computed(() => store.getters['cart/itemCount']);
</script>
Step 7: Real-World Example – Todo App with Vuex
Let’s create a simple todo app to tie all concepts together.
Store Setup
// store/modules/todos.js
export default {
  namespaced: true,
  state: () => ({
    todos: []
  }),
  mutations: {
    addTodo(state, todo) {
      state.todos.push(todo);
    },
    removeTodo(state, index) {
      state.todos.splice(index, 1);
    }
  },
  actions: {
    asyncAddTodo({ commit }, todo) {
      setTimeout(() => commit('addTodo', todo), 500);
    }
  },
  getters: {
    todoCount: (state) => state.todos.length
  }
};
Using the Todo Store in Component
<template>
  <div>
    <h2>Todos ({{ todoCount }})</h2>
    <input v-model="newTodo" placeholder="Add new todo" />
    <button @click="addTodo">Add</button>
    <ul>
      <li v-for="(todo, index) in todos" :key="index">
        {{ todo }}
        <button @click="removeTodo(index)">Remove</button>
      </li>
    </ul>
  </div>
</template>

<script setup>
import { ref, computed } from 'vue';
import { useStore } from 'vuex';

const store = useStore();
const newTodo = ref("");

const todos = computed(() => store.state.todos.todos);
const todoCount = computed(() => store.getters['todos/todoCount']);

const addTodo = () => {
  if(newTodo.value.trim()) {
    store.dispatch('todos/asyncAddTodo', newTodo.value);
    newTodo.value = "";
  }
};

const removeTodo = (index) => store.commit('todos/removeTodo', index);
</script>
This app demonstrates state, mutations, actions, getters, and modules in a practical scenario.
Step 8: Best Practices for Vuex
- Keep state minimal: Only store what needs to be shared globally.
- Use modules: Organize large applications for maintainability.
- Prefer actions for async logic: Keep mutations synchronous.
- Use namespaced modules: Avoid naming collisions and improve readability.
- Leverage getters: Compute derived state instead of storing redundant data.
- Debug effectively: Use Vue Devtools for state tracking.
Conclusion: From Beginner to Pro with Vuex
State management is often the defining factor in building scalable Vue applications. By understanding state, mutations, actions, getters, and modules, you can handle complex data flows predictably and maintainably.
With Vuex, your application’s data becomes centralized, reactive, and easy to debug. Whether building a small app or a large enterprise dashboard, mastering Vuex ensures your components stay in sync and your state stays predictable. So go ahead, implement Vuex in your next project, and feel the difference!


