This article is a comprehensive tutorial on using the Prohibited Validation Rules in Laravel. You will learn how to apply prohibited, prohibited_if, and prohibited_unless with clear explanations, real-life scenarios, and code examples. This guide is perfect for developers who want to master advanced validation techniques in Laravel applications.
Laravel’s validation system is one of its most powerful features. It ensures that the data entering your application is safe, reliable, and formatted correctly. While most validation rules are about allowing or restricting data formats, Laravel also provides a special set of rules called Prohibited Validation Rules.
These rules are not about requiring a value but instead about explicitly preventing the presence of certain fields. This is useful in scenarios where you want to ensure that some fields are not submitted at all under certain conditions.
In this article, we’ll explore three powerful rules in detail:
prohibited – Always disallow a field.
prohibited_if – Disallow a field if another field has a certain value.
prohibited_unless – Disallow a field unless another field has a specific value.
Why Use Prohibited Validation Rules?
Imagine you are building a form where users can either choose one option or another, but not both. Or perhaps, in certain workflows, a field should never be present. Without prohibited rules, developers often relied on custom validation logic.
Laravel’s prohibited rules solve this cleanly, making your validation logic shorter, more expressive, and easier to maintain.
Some real-world examples include:
A discount code field that should not appear if a “premium membership” is already chosen.
An “admin” flag that should never be set by regular users.
Ensuring mutually exclusive fields in an order form.
The prohibited Rule
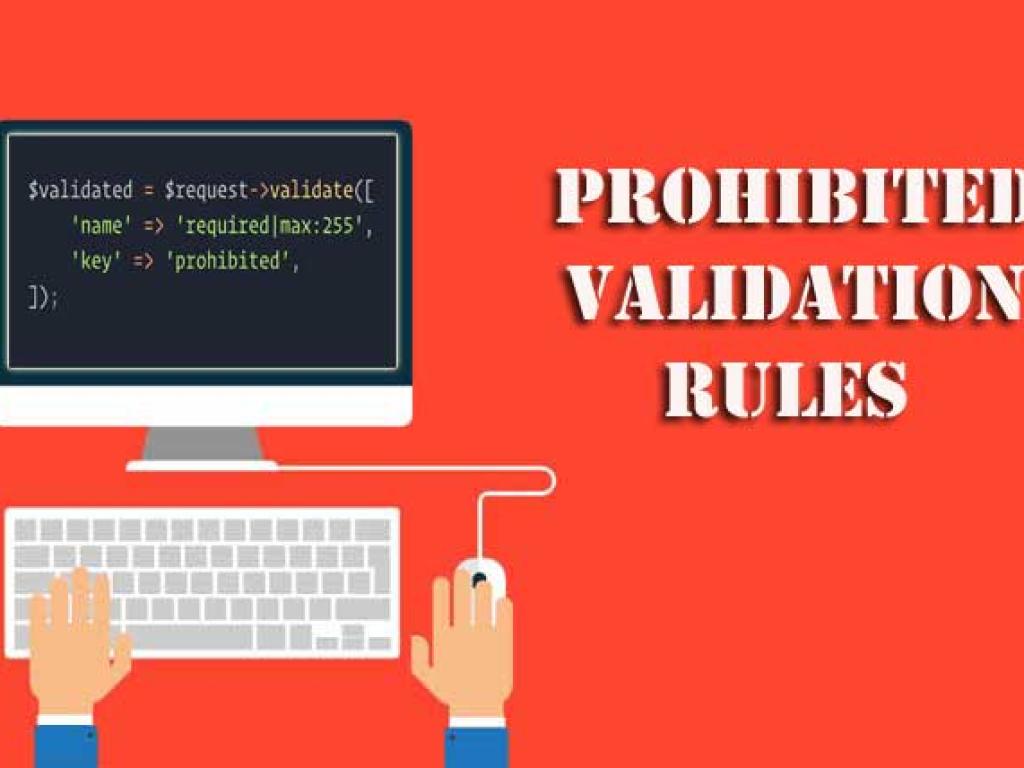
The prohibited rule disallows the presence of a field entirely. If a field is submitted with any value (even empty), validation will fail.
Example Usage
// In a controller or FormRequest
$request->validate([
    'admin' => 'prohibited',
]);
In this case, if the request contains an admin field, validation will fail regardless of its value.
Real-World Example
Let’s say you have a public registration form. You want to ensure no one can submit an admin flag while signing up.
If membership is not VIP, the field is prohibited. If it is VIP, then vip_code must be a string with a minimum length of 5.
Error Messages for Prohibited Rules
By default, Laravel generates messages like:
The admin field is prohibited.
The discount code field is prohibited when membership is premium.
The vip code field is prohibited unless membership is vip.
You can customize these in your resources/lang/en/validation.php file.
'prohibited' => 'The :attribute field is not allowed.',
'prohibited_if' => 'The :attribute field is not allowed when :other is :value.',
'prohibited_unless' => 'The :attribute field is not allowed unless :other is :value.',
Best Practices
Use prohibited for security-sensitive fields (e.g., admin, is_superuser).
Use prohibited_if when enforcing mutual exclusivity between fields.
Use prohibited_unless to restrict fields to specific roles or options.
Combine with FormRequest for cleaner controllers.
Always customize error messages for better UX.
Conclusion
Laravel’s Prohibited Validation Rules offer a powerful way to enforce data restrictions beyond just requiring or formatting fields. Whether you want to prevent unauthorized fields, enforce mutual exclusivity, or ensure a field only appears under certain conditions, these rules give you expressive tools right out of the box.
By mastering prohibited, prohibited_if, and prohibited_unless, you can secure your application, simplify validation logic, and create cleaner forms for your users.
This detailed tutorial explores request validation in Laravel controllers. You’ll learn multiple techniques—basic controller validation, using form request classes, custom rules, conditional validation, error handling, localization, and best practices. With practical examples, code snippets, and structured explanations, this article is designed for beginners to advance learner.
This guide teaches you how to deploy Laravel applications to production servers. From preparing your environment and configuring Nginx or Apache, to database migrations, caching, performance optimization, CI/CD pipelines, and security practices—this article covers everything step by step.It’s suitable for both beginners and advanced developers who want to ship stable, secure & scalable app.
This guide will take you deep into testing in Laravel using both PHPUnit and Pest. You will learn step by step how to set up testing, write unit and feature tests, test APIs, and follow test-driven development (TDD) principles. Complete with code examples, actionable instructions, and best practices, this guide is designed to make you professional in testing.
This website uses cookies to enhance your browsing experience. By continuing to use this site, you consent to the use of cookies. Please review our Privacy Policy for more information on how we handle your data. Cookie Policy
These cookies are essential for the website to function properly.
These cookies help us understand how visitors interact with the website.
These cookies are used to deliver personalized advertisements.