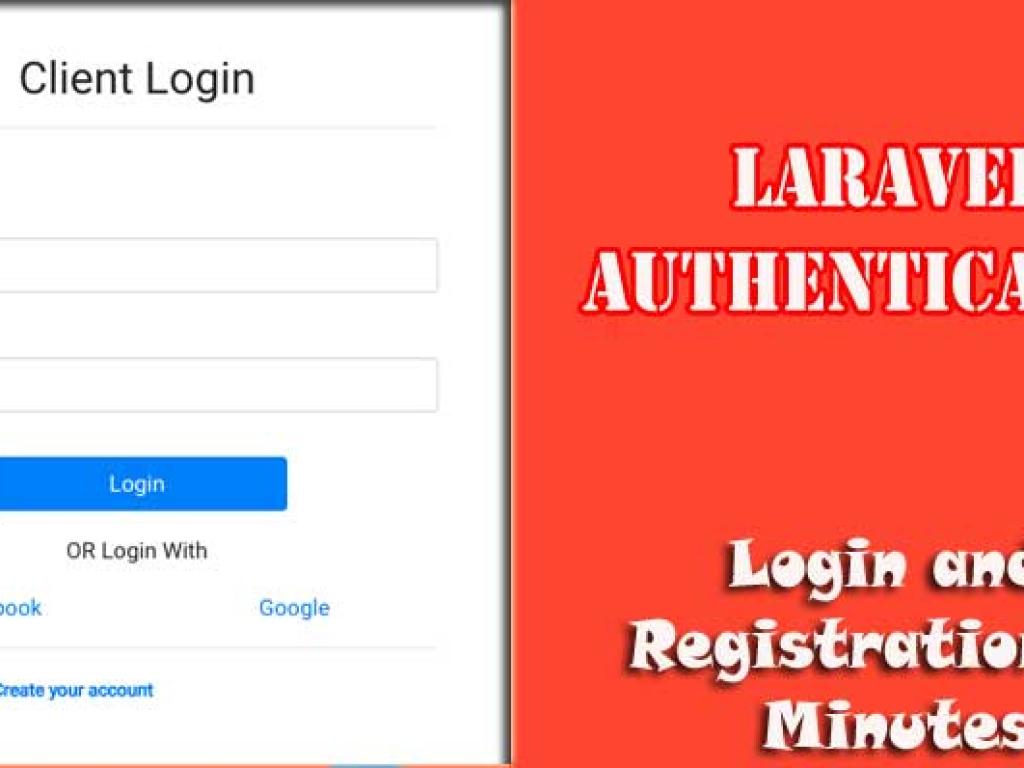
This detailed tutorial covers how to set up authentication in Laravel using modern starter kits like Breeze and Jetstream. You’ll learn how to create login and registration pages, secure routes, handle sessions, and apply best practices in under an hour.
User authentication is one of the most common features in web applications. Every app that requires user accounts needs a login and registration system. Laravel makes authentication simple with built-in scaffolding and tools. In this tutorial, you’ll learn step by step how to set up authentication, customize it, and secure your app.
Why Authentication Matters
Authentication is the process of verifying who a user is. Without it, any user could access private parts of your application. By implementing proper authentication, you ensure:
Only authorized users can log in.
Data privacy and protection are enforced.
Personalized user experiences are possible.
Setting Up a Fresh Laravel Project
First, let’s create a new Laravel project for authentication.
// app/Providers/RouteServiceProvider.php
public const HOME = '/dashboard';
Authentication Best Practices
Always hash passwords using Laravel’s Hash facade.
Use CSRF tokens in all forms.
Limit login attempts to prevent brute force attacks.
Enable email verification for new accounts.
Keep dependencies like Breeze and Jetstream updated.
Conclusion
Laravel’s authentication system allows you to set up login, registration, and password management in minutes. With starter kits like Breeze and Jetstream, you can build secure authentication features without reinventing the wheel. By applying middleware, customizing registration, and following best practices, you’ll have a production-ready authentication system for your app.
Now that you know how to set up authentication, you can focus on building the core functionality of your web app while ensuring users are protected and authenticated properly.
This article is a comprehensive tutorial on using the Prohibited Validation Rules in Laravel. You will learn how to apply prohibited, prohibited_if, and prohibited_unless with clear explanations, real-life scenarios, and code examples. This guide is perfect for developers who want to master advanced validation techniques in Laravel applications.
This detailed tutorial explores request validation in Laravel controllers. You’ll learn multiple techniques—basic controller validation, using form request classes, custom rules, conditional validation, error handling, localization, and best practices. With practical examples, code snippets, and structured explanations, this article is designed for beginners to advance learner.
This guide teaches you how to deploy Laravel applications to production servers. From preparing your environment and configuring Nginx or Apache, to database migrations, caching, performance optimization, CI/CD pipelines, and security practices—this article covers everything step by step.It’s suitable for both beginners and advanced developers who want to ship stable, secure & scalable app.
This website uses cookies to enhance your browsing experience. By continuing to use this site, you consent to the use of cookies. Please review our Privacy Policy for more information on how we handle your data. Cookie Policy
These cookies are essential for the website to function properly.
These cookies help us understand how visitors interact with the website.
These cookies are used to deliver personalized advertisements.